
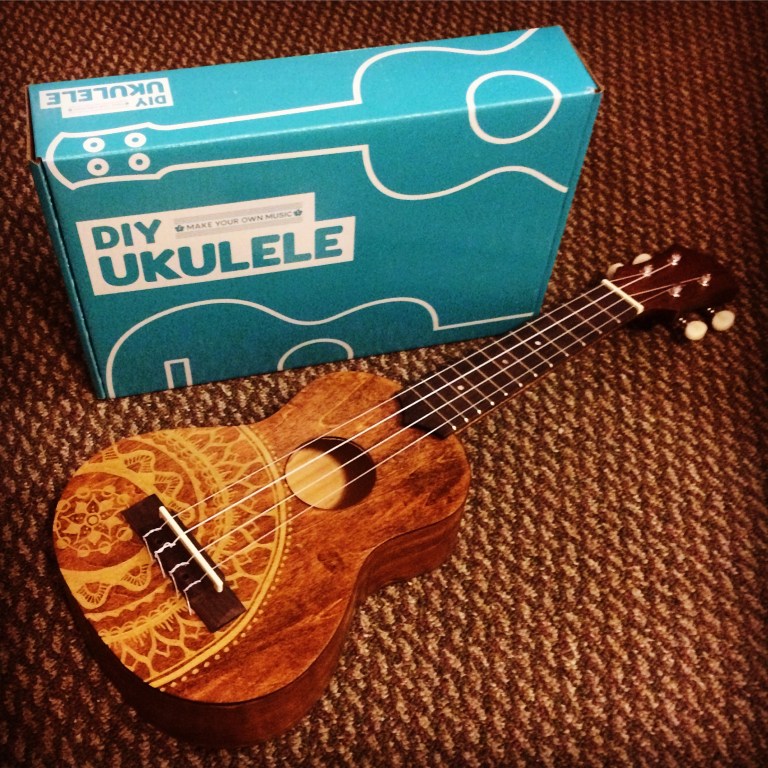
This past Christmas I received this awesome gift from two good friends:

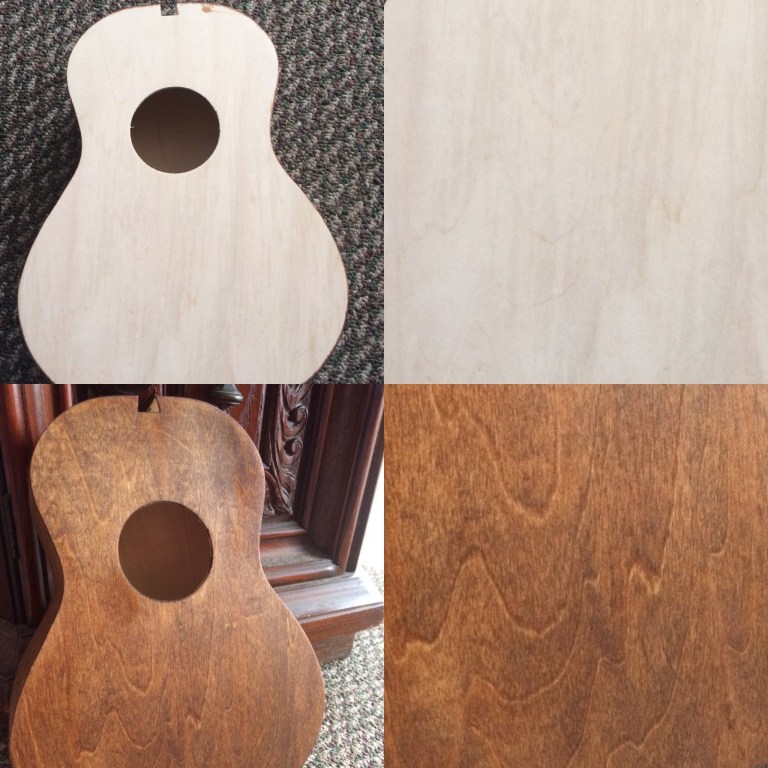
The unfinished wood looked sloppy and boring. I knew I didn’t want to cover the whole thing in paint, because I like the look of a wooden instrument. I decided to give the body and the neck a coat of stain. The transformation was instantly satisfying. The stain helped bring out some of the nice details in the grain of the wood:
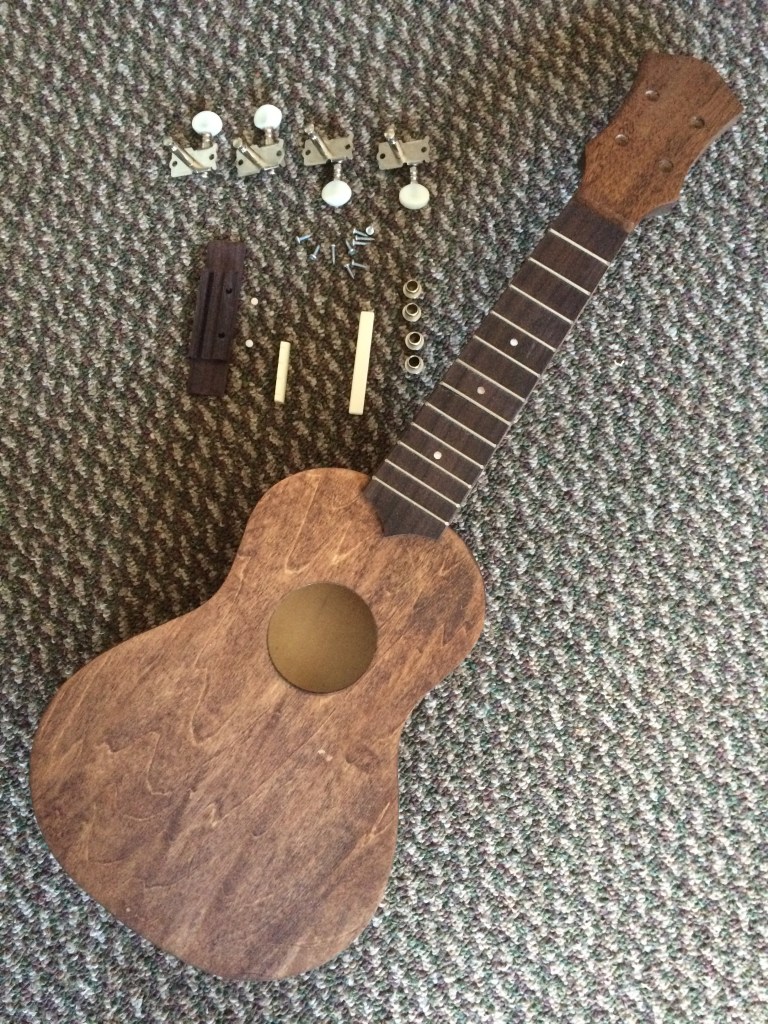
The next step was to attach the neck to the body and the fretboard to the neck:
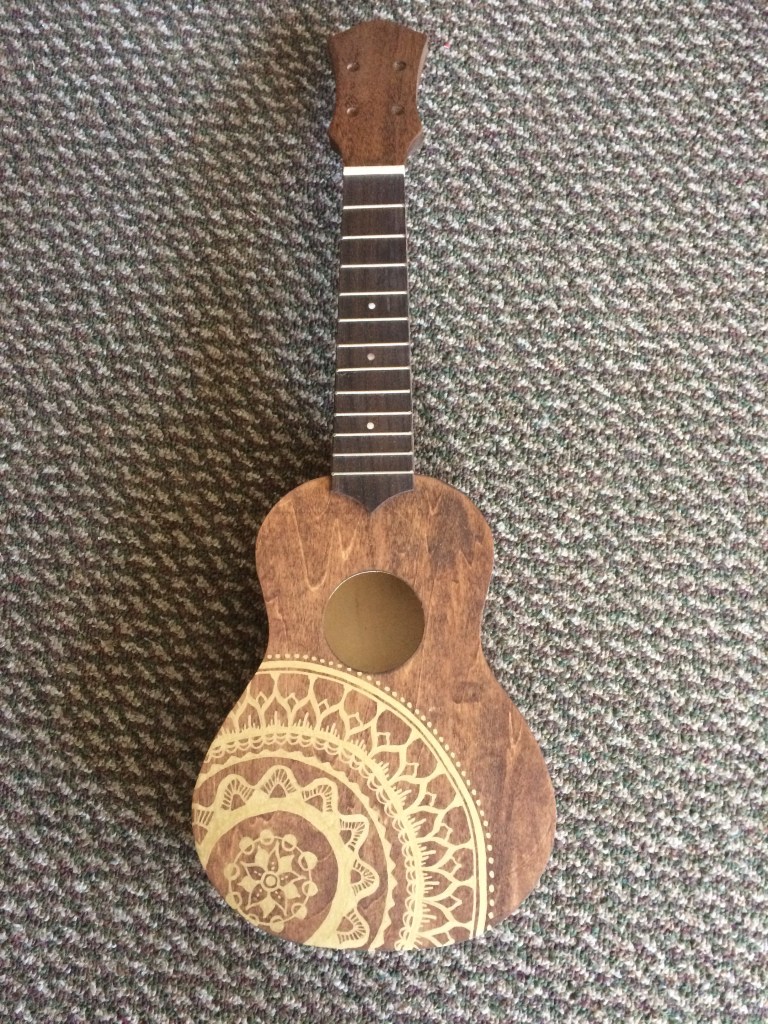
Next it was time to get creative and start having fun! After I glued the plastic nut to the top of the fretboard I started sketching ideas for for how to decorate the body of the ukulele. I wanted to keep it simple, so I decided to just add detail to part of it and not cover the whole thing in doodles. In the end I bought a gold paint pen and used that to freehand some fun designs across the bottom left side of the body:
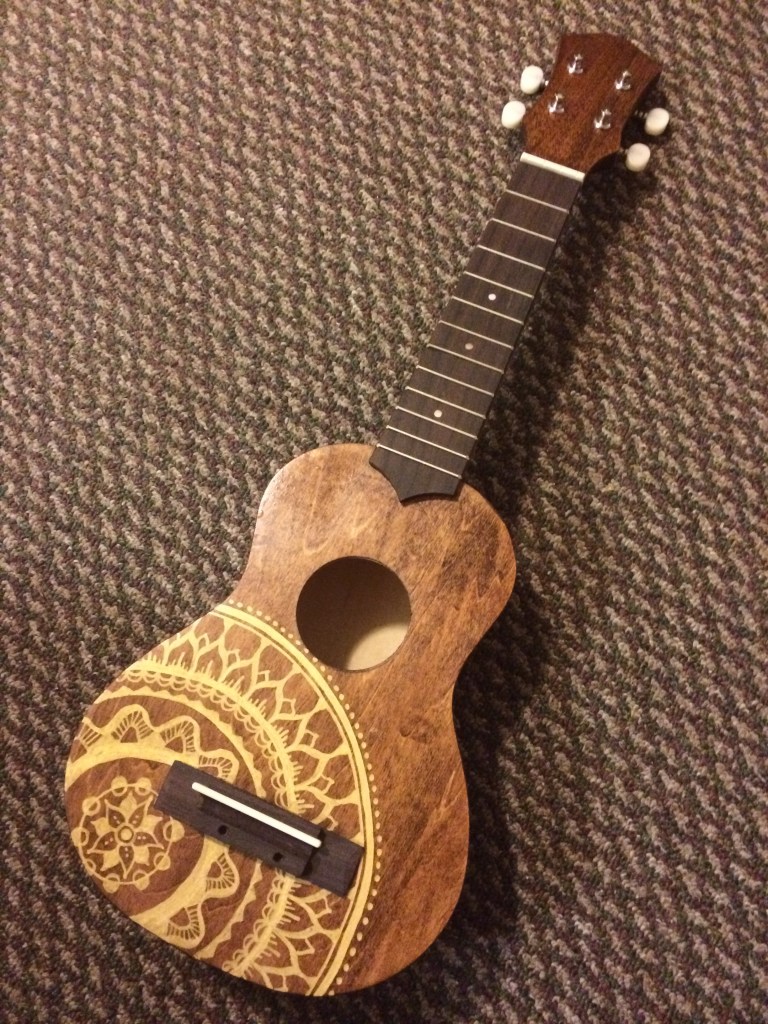
Now that the body detail was completed I could attach the bridge. This was probably the hardest part for me, because I knew it had to be placed accurately and I had to keep it nice and straight so I could string it properly later on. After the bridge was glued and dried, it was time for a coat of varnish. I used a semi-gloss polyurethane to give the wood a little extra shine. When this had dried, it was time to attach all of the hardware!
I was nervous about the last step: Stringing the ukulele. I have never strung an instrument before, so I had to do a bit of research to know which order the strings should go, how to tie the string to the bridge, how to attach the other end of the string to the tuning peg, and finally how to get all of the strings in tune for the first time.
I think overall this project took me about two weeks to complete. Anytime I used glue, stain, paint or varnish I made sure to let it dry completely, usually overnight. It could definitely be completed a lot faster, but I enjoyed stretching the project out and just working on it a little bit on and off for those two weeks.
I really like the way this project came out. I would highly recommend it to anyone who enjoys music and DIY. Now it’s time for me to learn how to play!

One thought on “DIY Ukulele!”