
Thanks to a surprise snow day, I finally had some free time to play around with my favorite toy – my sewing machine. I also had the time to continue my slow entrance into the world of blogging, so I figured creating a tutorial for a simple sewing project could be a fun way to spend the afternoon. I started out using these two tutorials for inspiration: onecraftyhome and craftystaci. Here’s the result of my project:
How to sew your own coffee cup sleeve
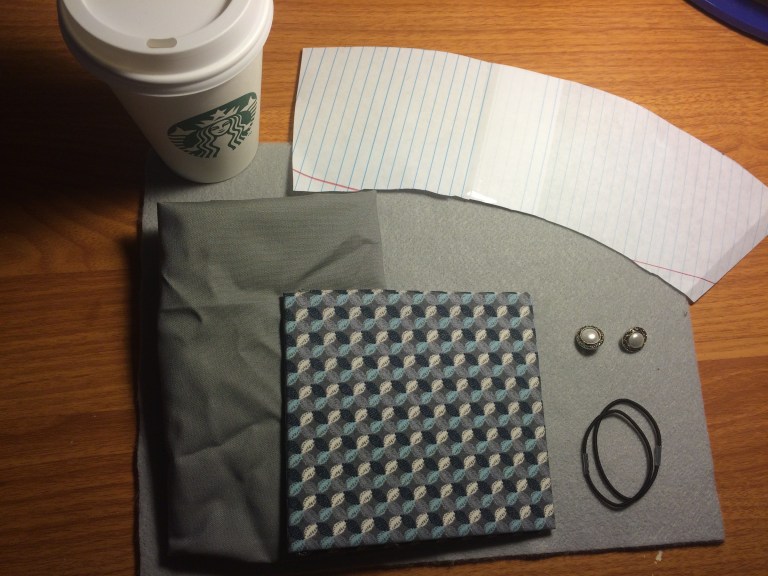
Materials:
- Coffee cup
- Paper to make stencil
- One sheet of felt
- Fabric (1 or 2 colors)
- 2 buttons
- 2 spare hair ties
Step 1: Cut out three different fabric pieces

Step 2: Tack down your elastic loops
Do this by laying out your felt piece. On top of the felt, lay your inside fabric (I used a plain gray) right side up. Mark two points where you would like your elastics to be. Sew them down so that your piece resembles this photo:

Step 3: Add your third layer and sew the edges
To do this, you need to lay your outside fabric on top of the inside fabric. This piece needs to be facing right side down. Sew a 1/4″ border around all edges of your piece, leaving about a 1.5″ wide opening on the bottom of your sleeve.

Step 4: Trim your corners

Step 5: Turn your piece right side out
I think this is the most exciting step because it starts to resemble the finished product. When you turn your piece right side out, your elastics will appear and all that’s left to sew will be the 1.5″ opening on the bottom.

Step 6: Sew around the entire border
This will allow you to close that final opening. If you want to make things easier on yourself, press the seam with an iron before sewing.

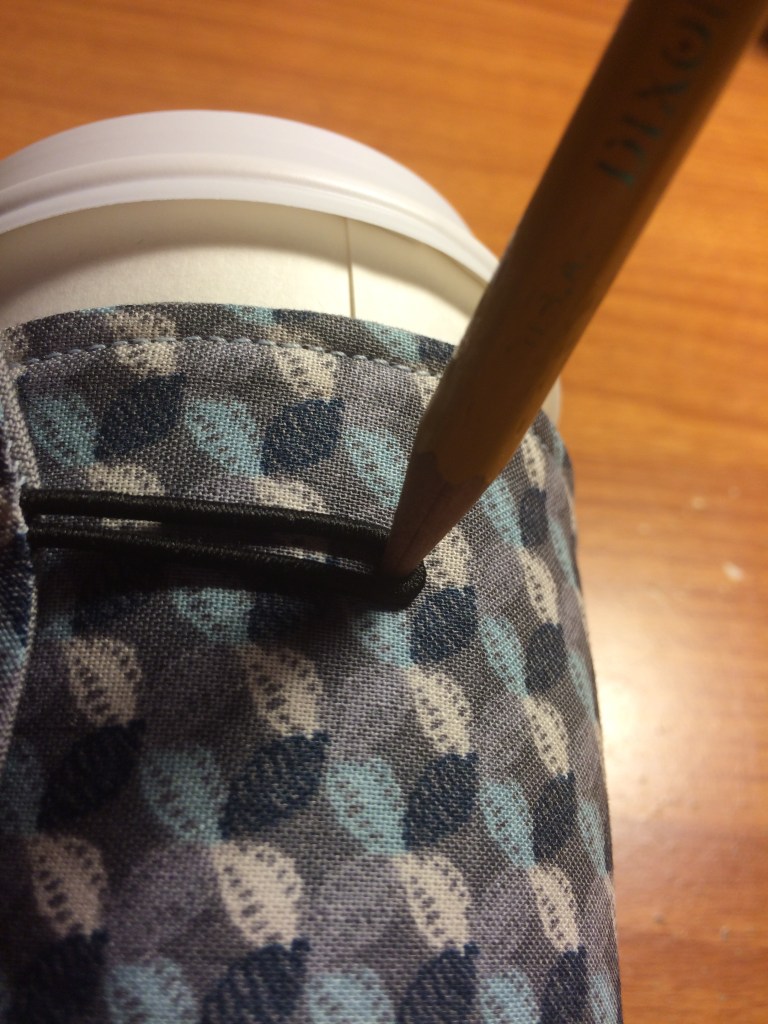
Step 7: Attach the buttons
First you’ll need to measure where the buttons need to go. Wrap the sleeve around your coffee cup and using a pen or pencil, mark the farthest point the elastic will reach without stretching.
And you’re done!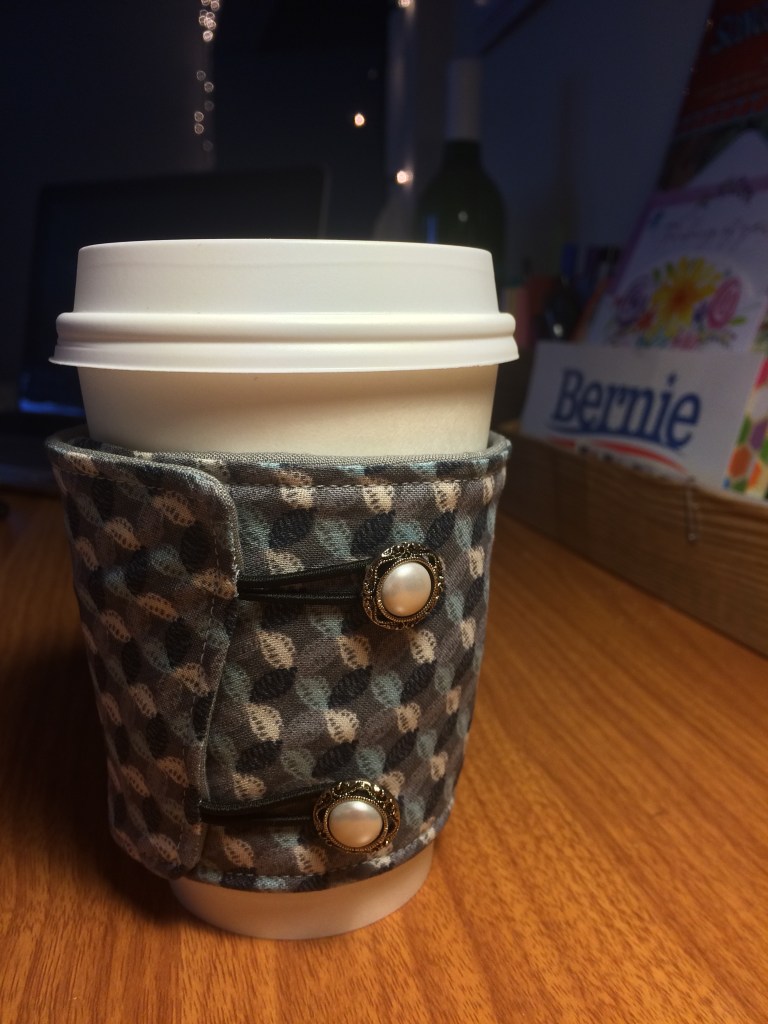
Bonus: Here’s another one I made a few weeks ago for a friend’s birthday: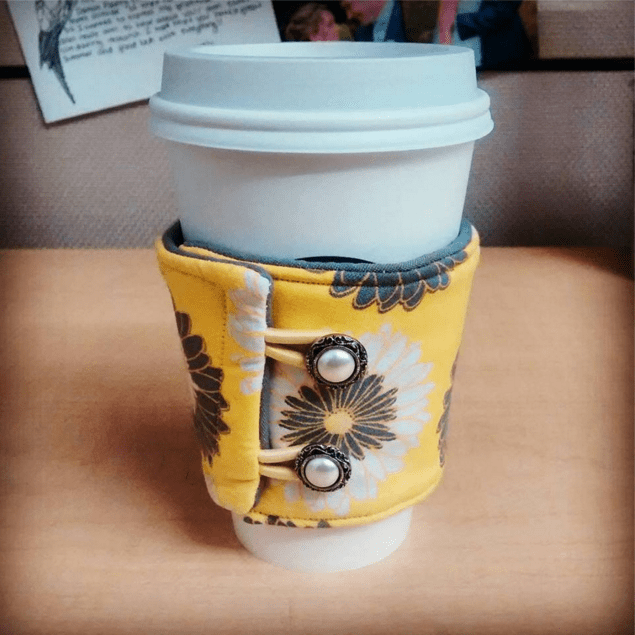

This is awesome! You make it look so easy and simple. Want to try this ASAP!
LikeLike
Great idea!
LikeLike
Very nicely done. Great instructions and nice pictures to illustrate.
LikeLike
Super cute. I think your button choice really makes them!
LikeLike