
I don’t know how long it’s been since you’ve played around with shrinky dinks, but I am mildly obsessed right now. If you’ve never been introduced to this fun and magical craft, you’re missing out.
At the end of last school year I used shrinky dinks to make custom charm bracelets with my students. One problem I began noticing afterward was that the sharpie was not very resilient and was rubbing off my shrunken masterpieces. I turned to Google to solve this problem, read about several techniques, tried two of them and found success in one of them. Read on for a summary of what I learned.
I decided to try two techniques:
- Spraying the finished item with Acrylic Sealer
- Melting embossing powder over the finished item
These were the two products I used:


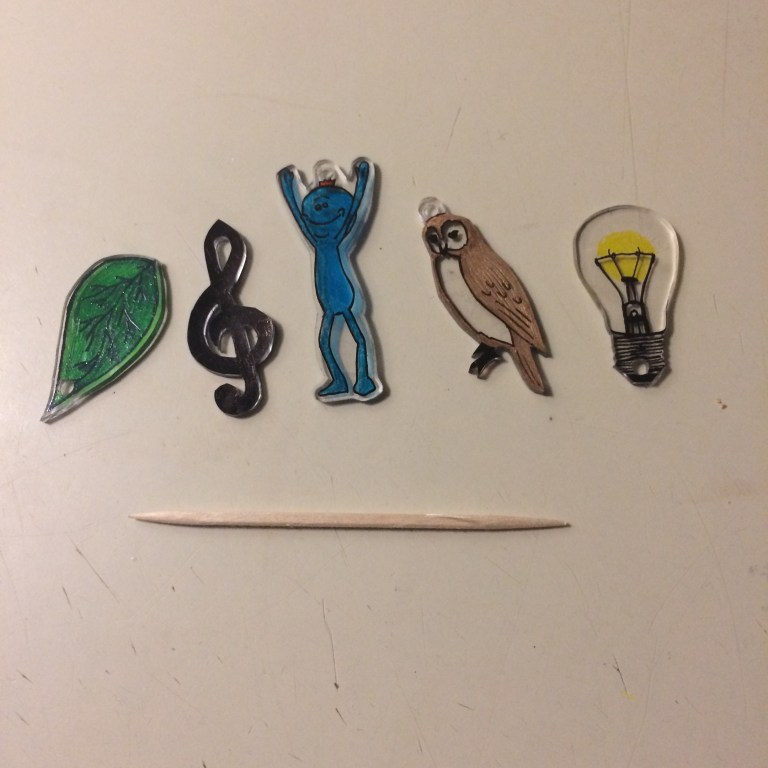
I made two sample shrinky dinks using a variety of colors of ultra fine sharpies.
Here they are before and after shrinking:


The first method I tried was the acrylic spray sealant. It did not go well. Many websites said to spray a very fine mist several inches above your piece to give it the gentlest first coating. I tried this, but I was not pleased with the results. It gave it a nice glossy coating, but it caused several of my colors to bleed:

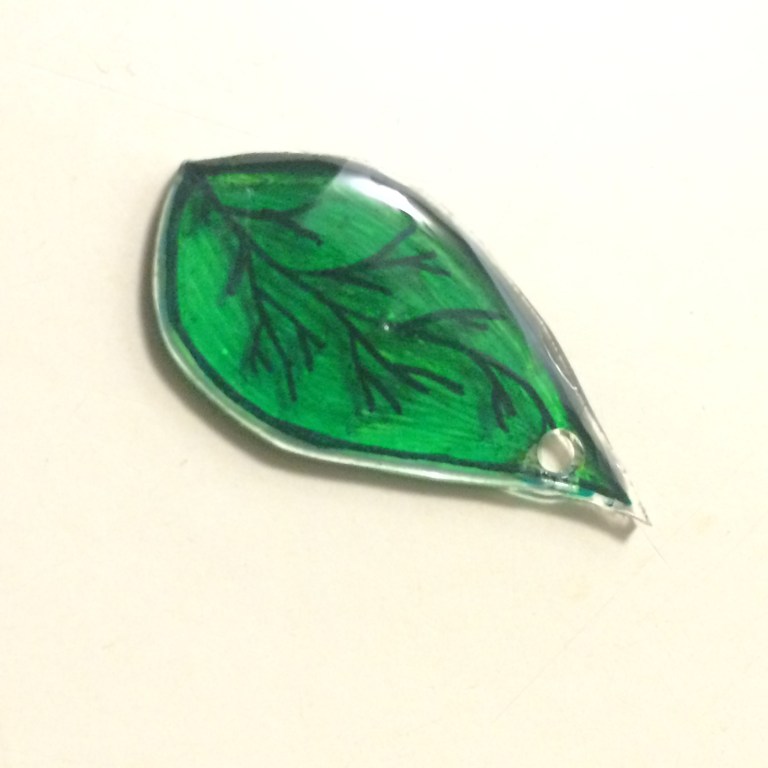
The second method I tried proved to be much more successful. I used clear embossing powder and followed this video tutorial. The tutorial said to use Ultra Thick Embossing Enamel, but that stuff comes in a huge bottle for like $12. I wasn’t ready to make that kind of commitment so I just got a small bottle of regular clear embossing powder. Here’s the result I got from that compared to the first technique:

The embossing powder lead to much less bleeding of the colors and it gave the shrinky dinks a thicker glossy coating that I really liked. I decided this was the better technique and I tried it out on some more test subjects. Here’s the process in a little more detail:
Step 1: Cut out and color your shrink plastic

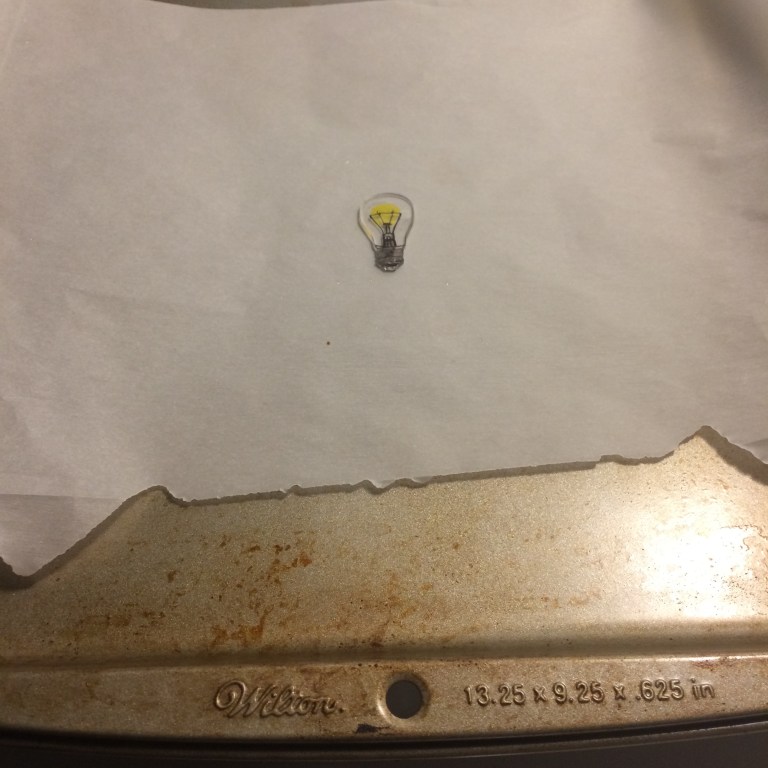
Step 2: Shrink them!
Step 3: Seal with embossing powder


Step 4: Let cool
My lightbulb actually came out the worst of all my charms. For some reason it curled up slightly when it went back in the oven. My best guess is that it hadn’t fully shrunk on its first round in the oven.
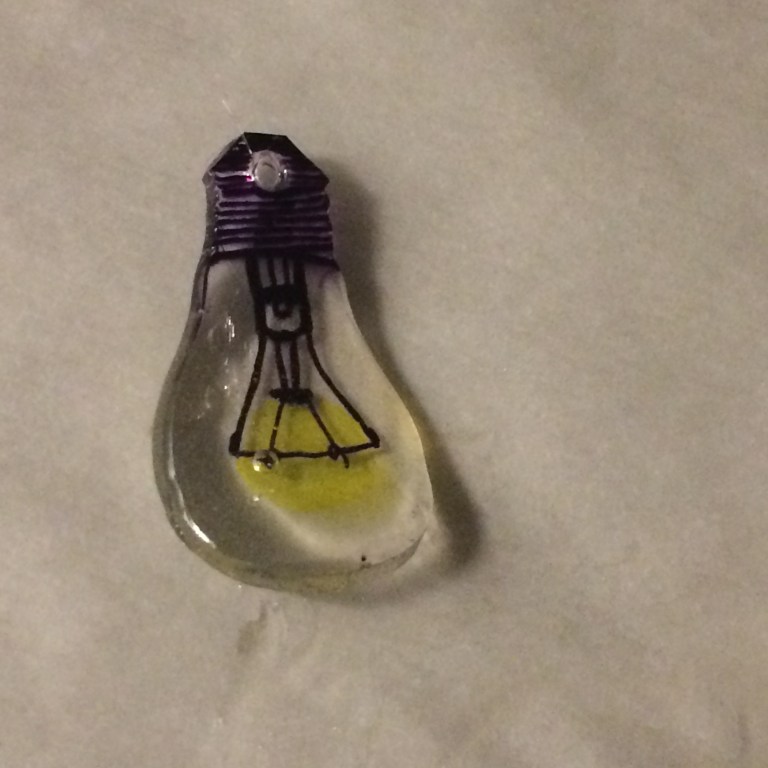
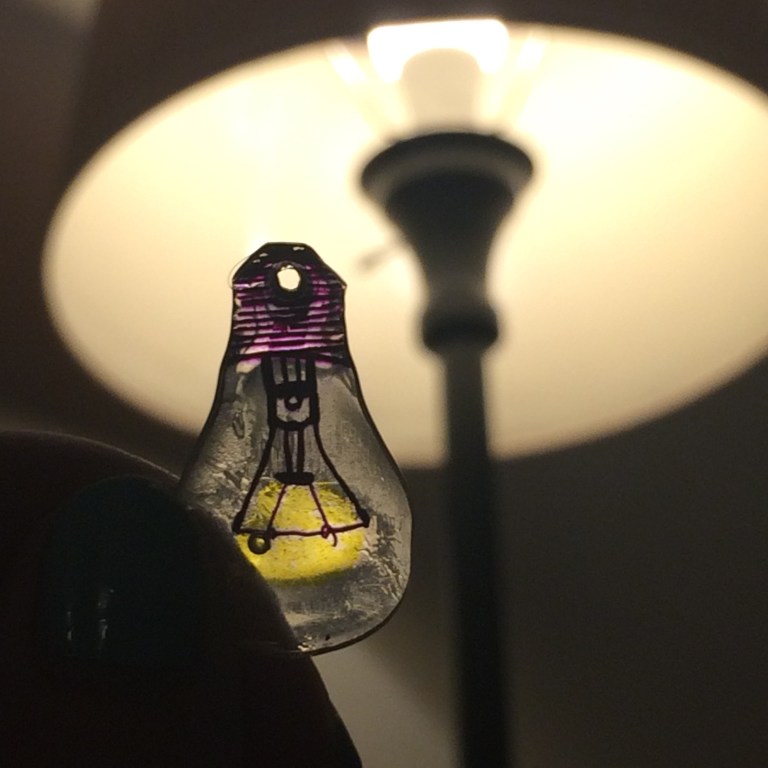
Another interesting thing demonstrated in this one is that the black sharpie ran a little bit. When you hold it up to the light you can see how the black bleeds purple:
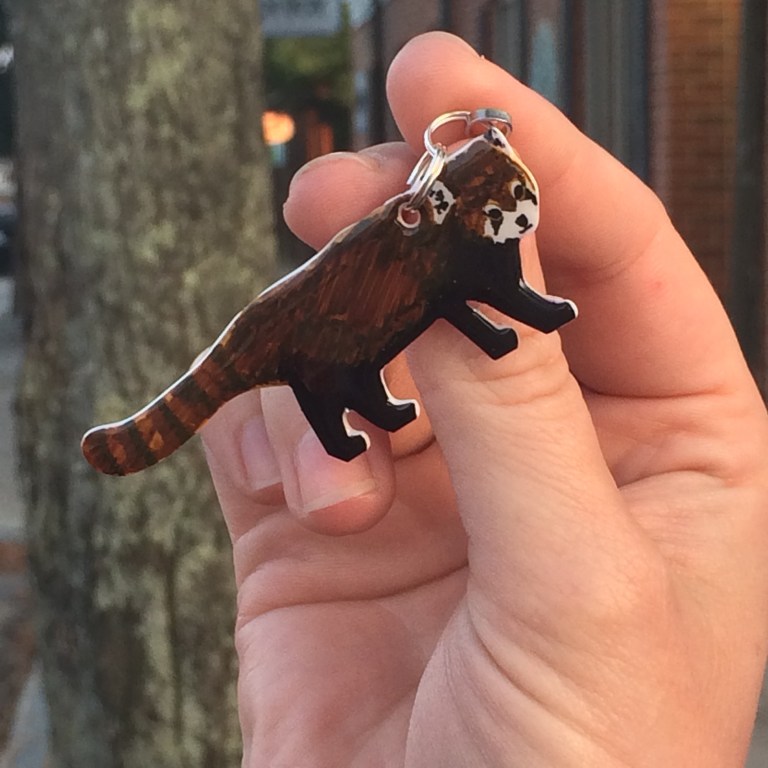
Here’s how the other charms came out:


I tried to get this one from 2 angles so you can see the nice, thick glossy-ness:


Step 5: Add hardware

Here’s one last bonus shrinky dink that I made and sealed for my friend Autumn for her birthday today:
Happy birthday, Life Partner 🙂 ❤
Check out Autumn’s birthday post on her blog,

Thanks! This blog was super helpful. Have you considered using a clear ink, then a light coating of the embossing powder? And sparklies? I think I will try several ways, including your pour-the-powder, easy-as-can-be method! I like easy! Lol. 😉
LikeLike
Be careful with this! I used clear ink over sharpie colored shrinky dinks and then covered the designs in embossing powder and the whole design ran and turned into a dark purple tinted mess.
LikeLike
Hello! I was wondering if you knew how to prevent charms curling up after you take them out of the oven after the embossing powder process. I know people usually put a flat object over the shrinky dinks and push down pre embossing and it works but I figured that would ruin the coat after you bake with the powder. Thanks for reading!
LikeLike
Hmm, it’s been a while now since I’ve played with Shrinky dinks but I never had issues with curling in the oven. When they’re in there they curl up initially, and then I wait til they flatten out before I take them out. I did have curling issues when I used a heat gun to shrink then though.
LikeLike