
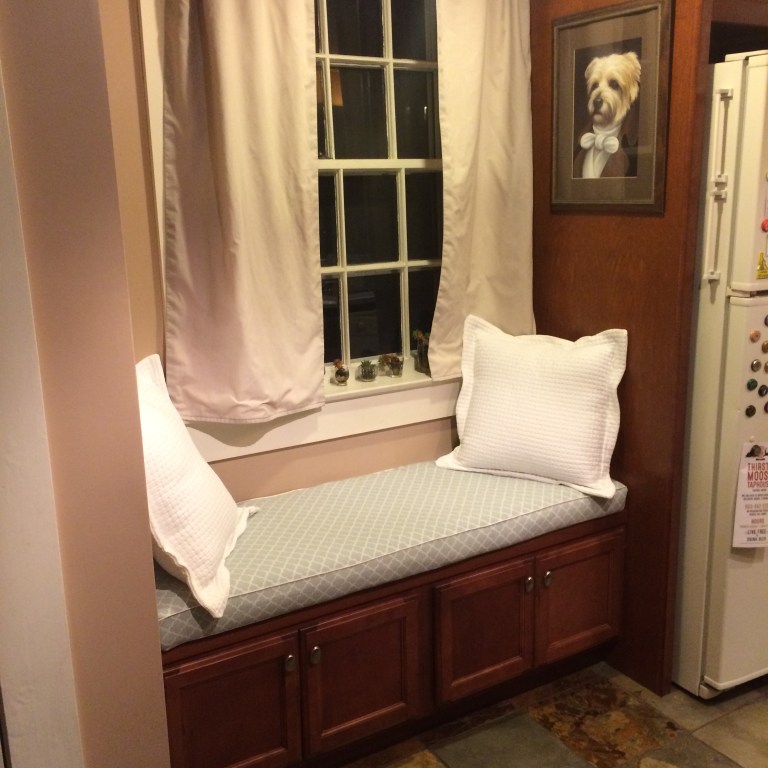
For anyone who doesn’t know, Doug and I just moved again. And with a new apartment comes the opportunity for new, fun projects! One of the coolest things about our new apartment is that we have a built in window seat in the kitchen. It was a nice little spot, except for one thing:
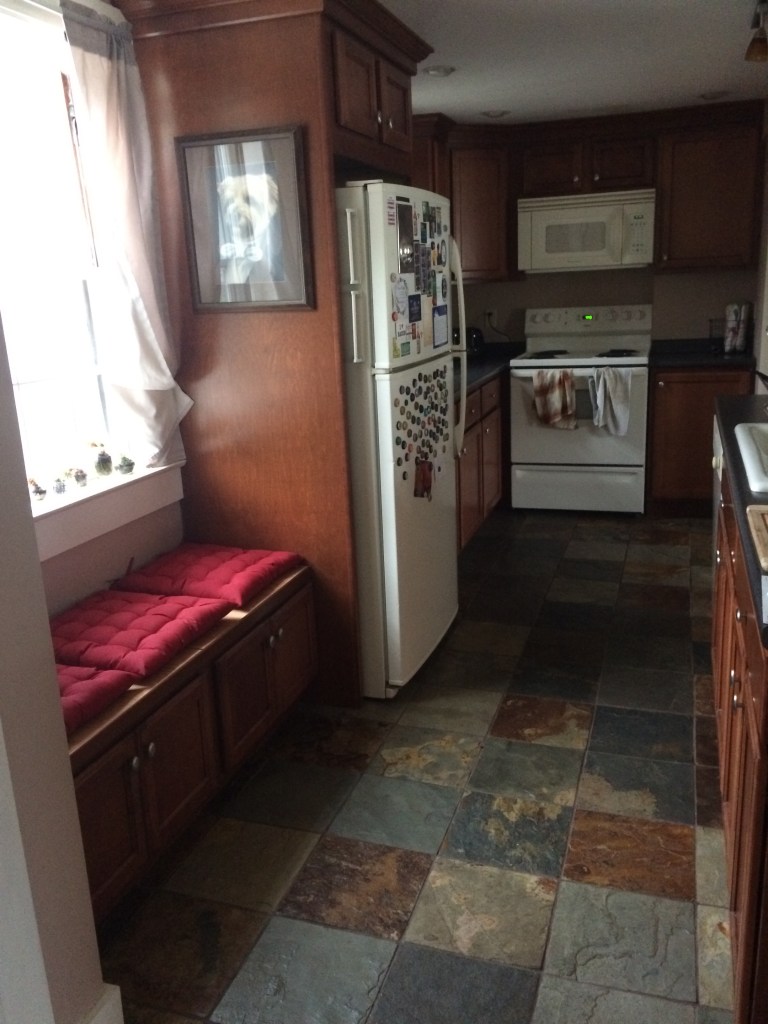
My first new apartment project was to make a bench cushion for the window seat. I didn’t do a great job documenting that project, but here are a couple photos of the process:


I cut some 3-inch foam to fit the space, covered it with some quilt batting, and sewed a long, fitted pillowcase with a zipper to cover it. Here’s the final result:
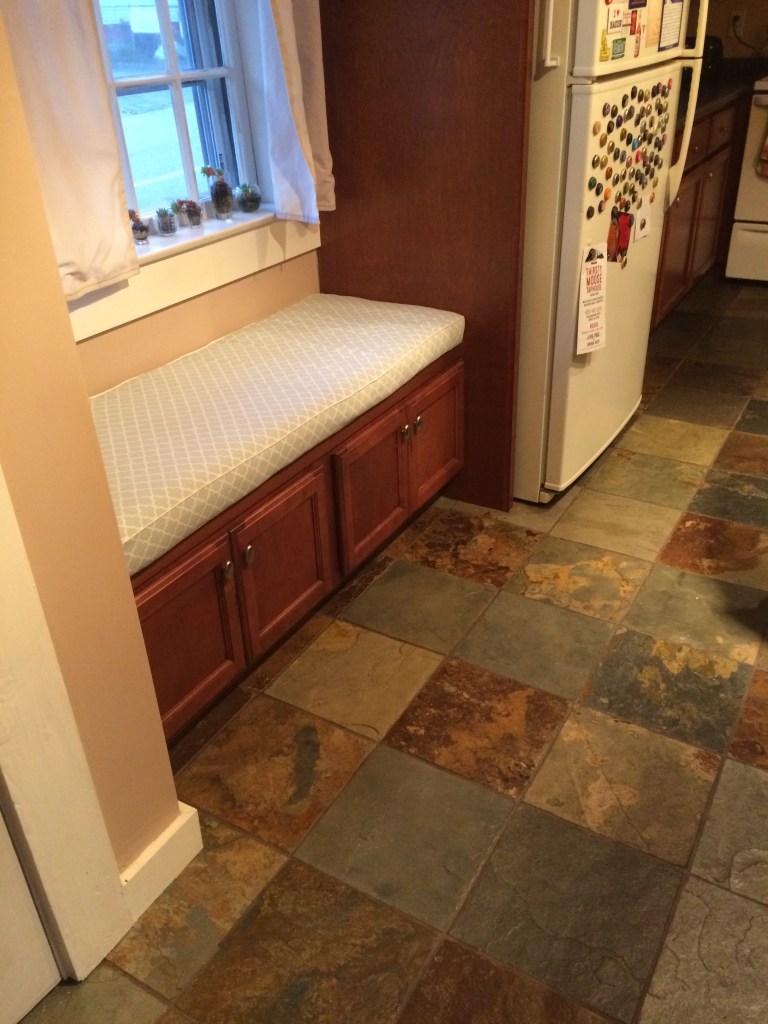
It came out great, but the area felt like it needed pillows. What I didn’t realize is that throw pillows are expensive! Even at Walmart a decent sized pillow is like $15.00. That’s too much for my budget, so I decided to make my own pillows.
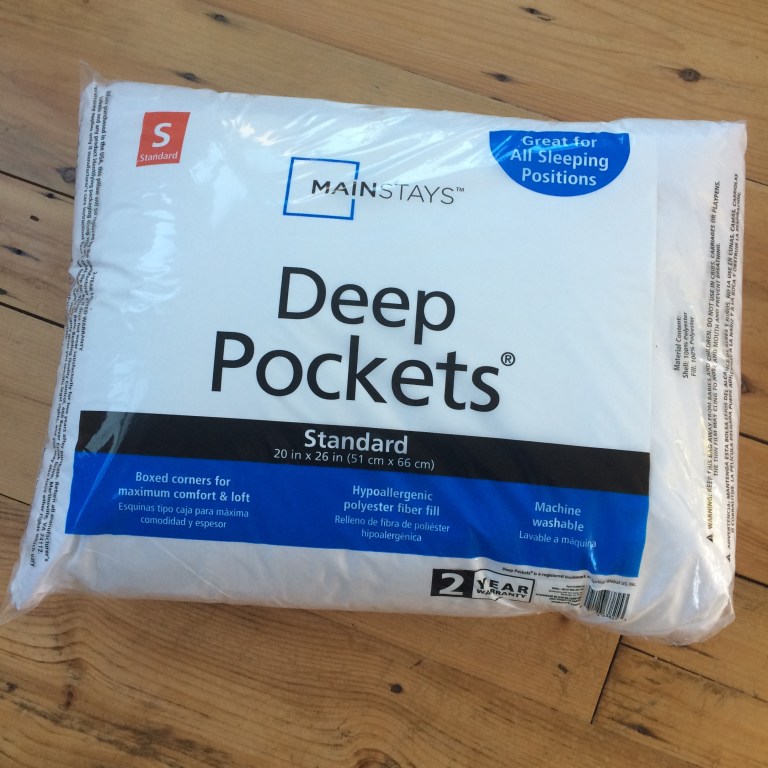
My next roadblock was the cost of pillow forms. The form is the part you put inside your pillow cover. I found these to cost around $5-6 apiece for the cheapest ones. I needed a less expensive alternative, so I turned to Pinterest and found a blog with this great idea. I tried it out for myself. Here are the materials I gathered:
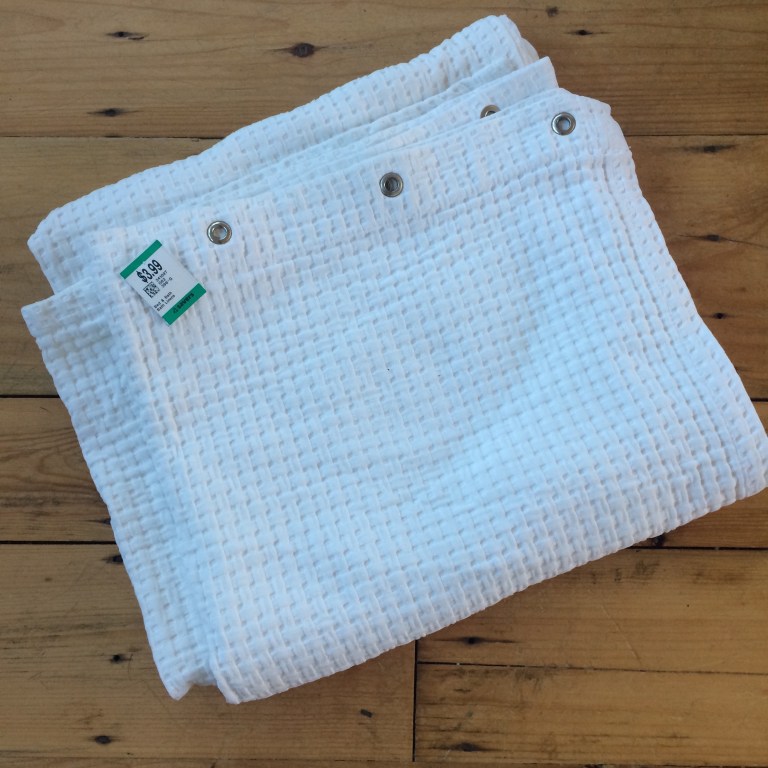
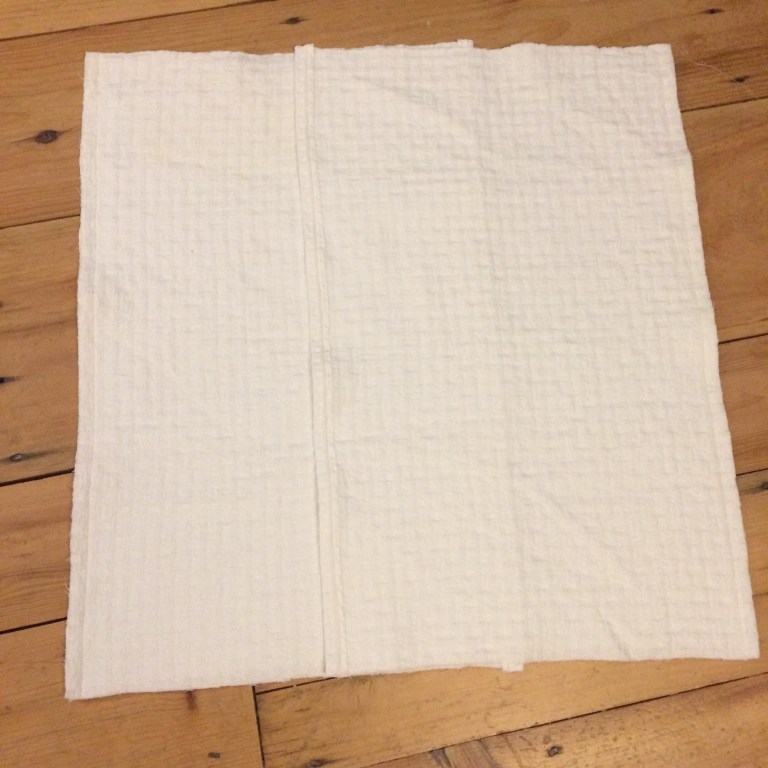
I originally was going to look for a flat sheet or some cheap fabric remnants, but I saw this shower curtain and loved the basket weave texture in the fabric:

It’s funny, at this time last year I spent $3.99 on a DIY project to turn a tablecloth into a shower curtain. Now a year later, I found myself spending the same amount on a shower curtain to turn into throw pillows…
Anyways, here are the steps I took to make my pillows:
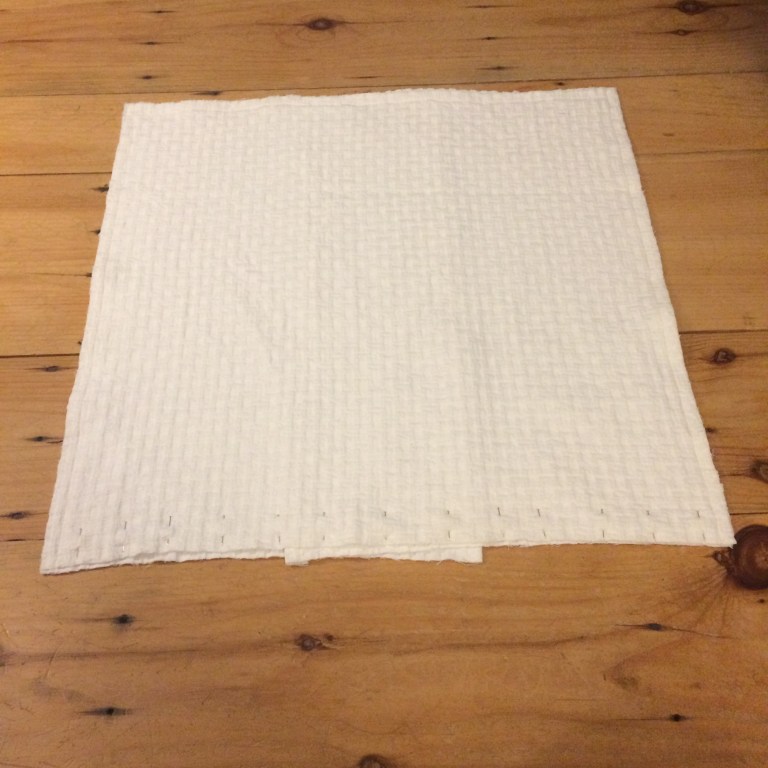
Step 1: Gather all pillow stuffing into one end of the pillow and pin in place
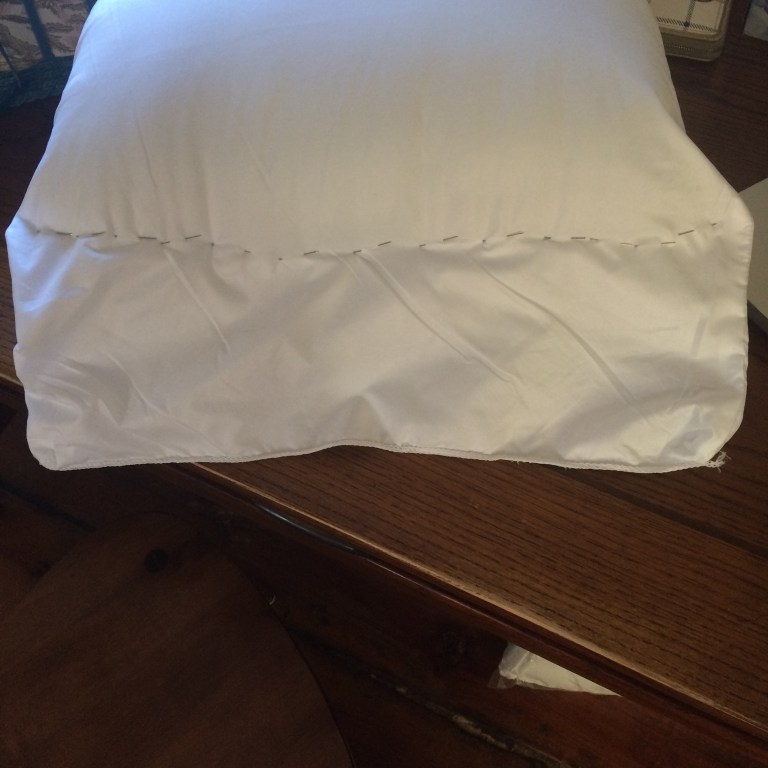
Step 2: Sew across to create a square shaped pillow form
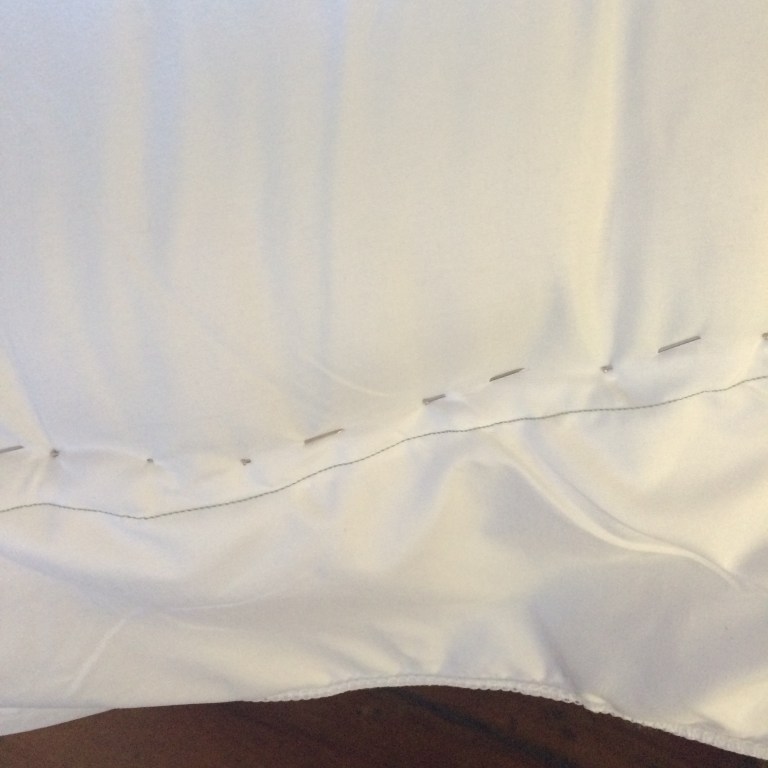
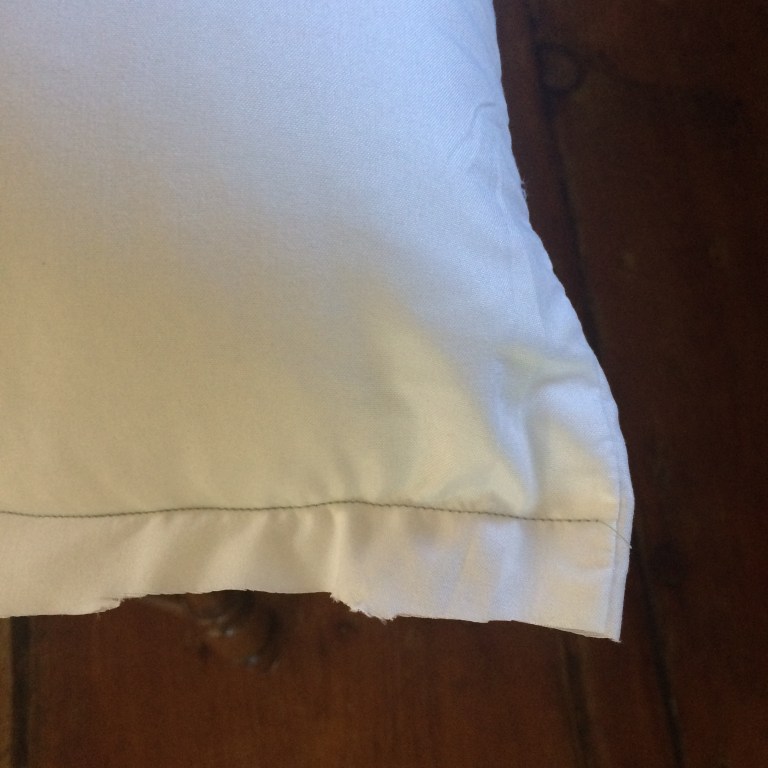
Step 3: Trim off excess material
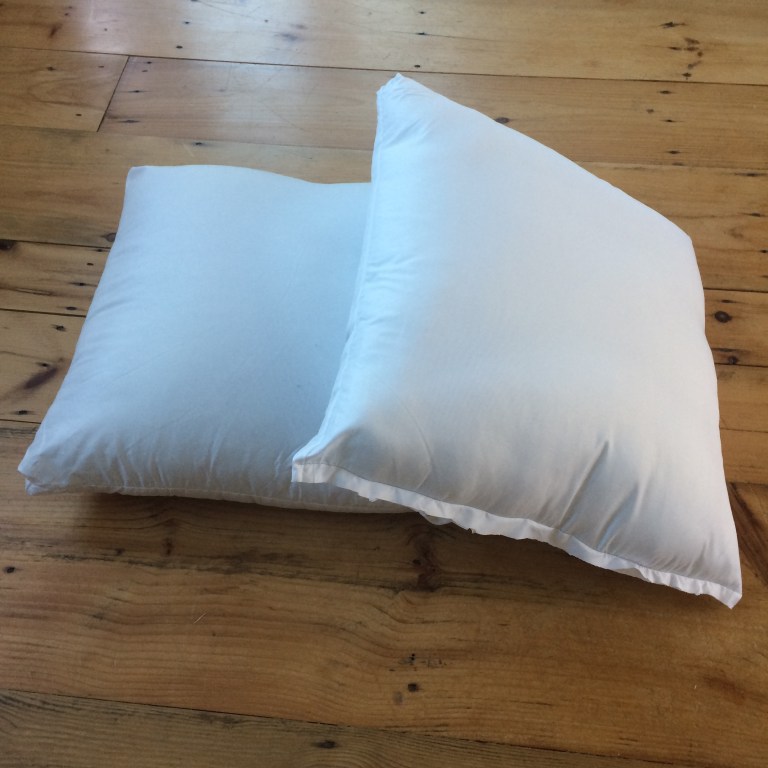
I did this twice and ended up with these two pillow forms:
Step 4: Cut out the front side of your pillow cover

Step 5: Cut out the two pieces that will make up the backside of your pillow cover
I forgot to take a picture of these pieces, but essentially I cut a 22×30″ piece of fabric and then I cut this in half to make two 22×15″ pieces. These will end up overlapping to create an envelope type of pillow cover.
Step 6: Sew hems along one side of each of the back pieces

Step 7: Sew the two backside pieces to the left and right side of the front piece
Step 8: Sew across the top and bottom
Step 9: Turn the pillow cover inside out and press your seams with an iron

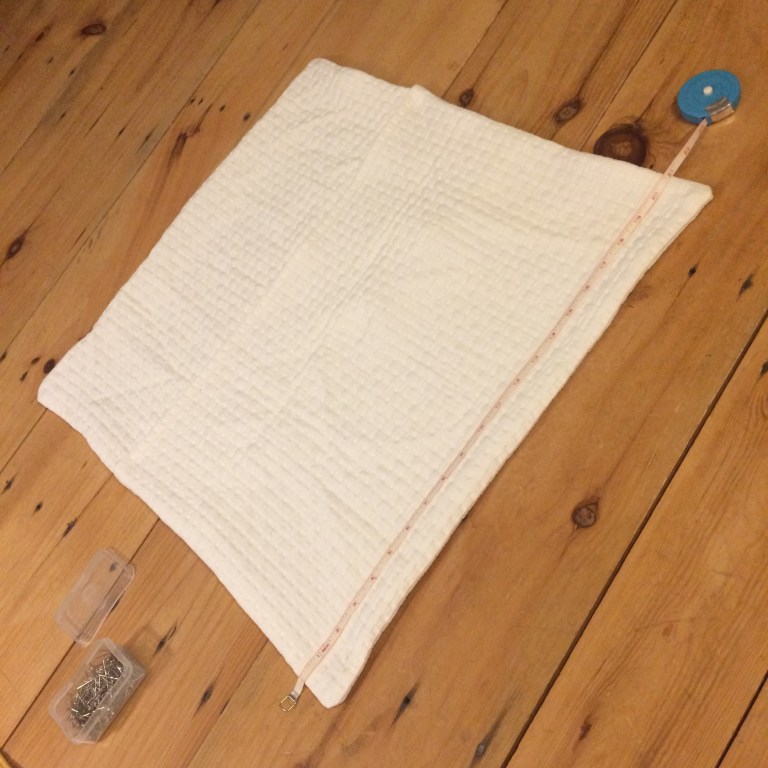
Step 10: Sew a border on the pillow cover to create the flanges
Step 11: Stuff your pillows!
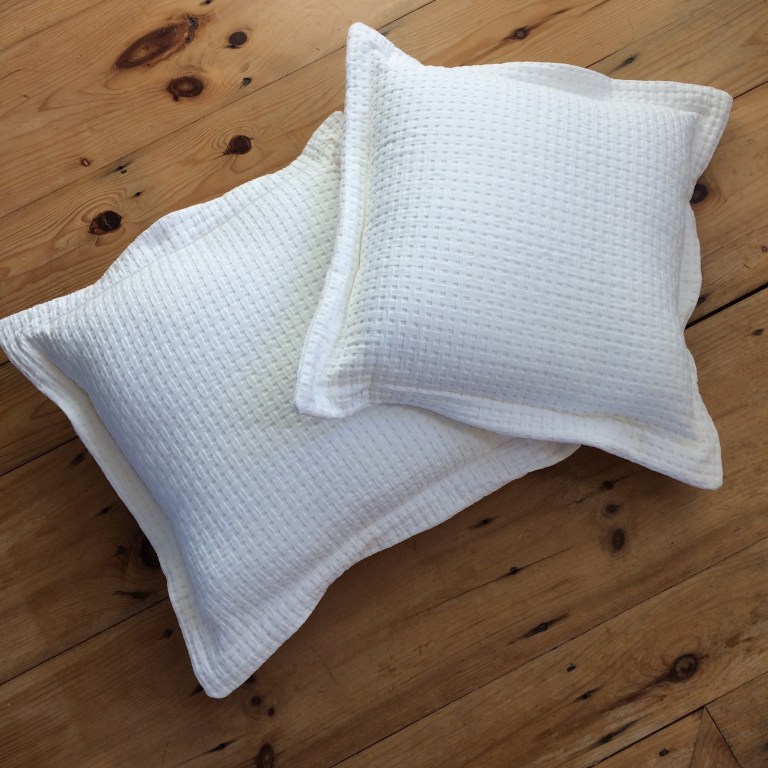
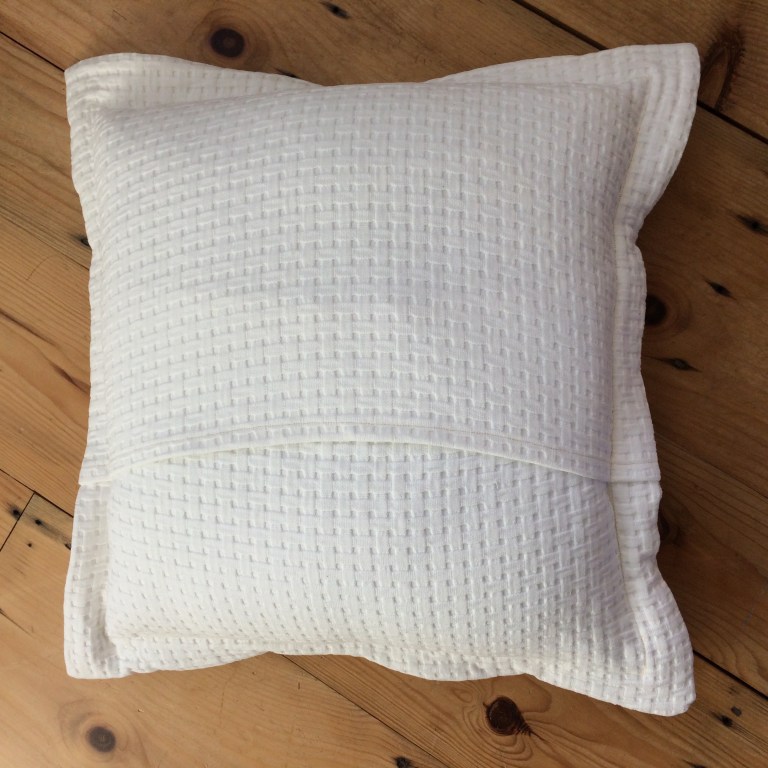
Now our window seat looks a little more comfortable, and I kept costs down to $4.37 per pillow!
Bonus!
One other small change to go with the new apartment – I got a new desk!
Remember this project from last year?

I loved this desk, but it was too small to really do any work on. I could barely fit my sewing machine on it! So I ended up selling it for $75.00 (that’s right, the desk I paid $0.00 for) and I put that money toward this new beauty:
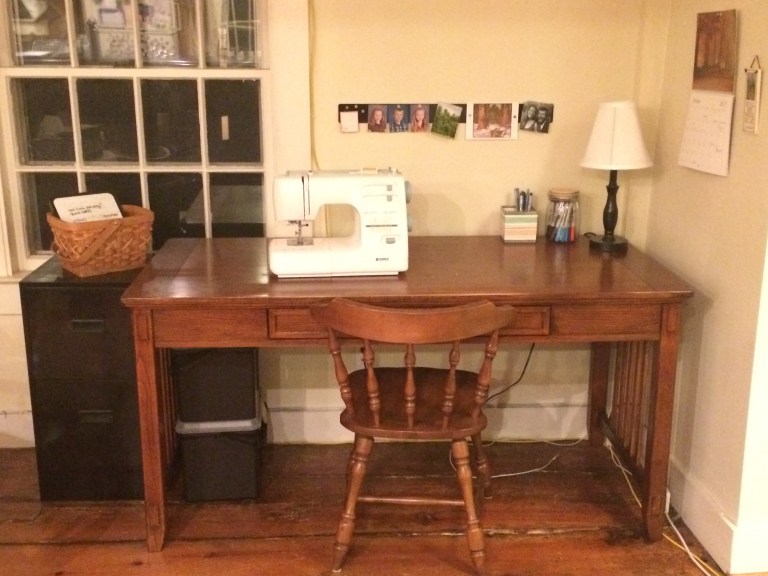
Now I have a beautiful new workspace with plenty of room for fun projects!

Congrats on the move. So much cheaper to make than buy. I agree. Always good to put our own stamp on a place. Well done in your creations.
LikeLike