
So for those of you who don’t know, Doug and I just moved in to a new apartment. Along with the move have come a bunch of opportunities for new projects! First on my list was to find a new shower curtain. I had been living with this one for the past three years:

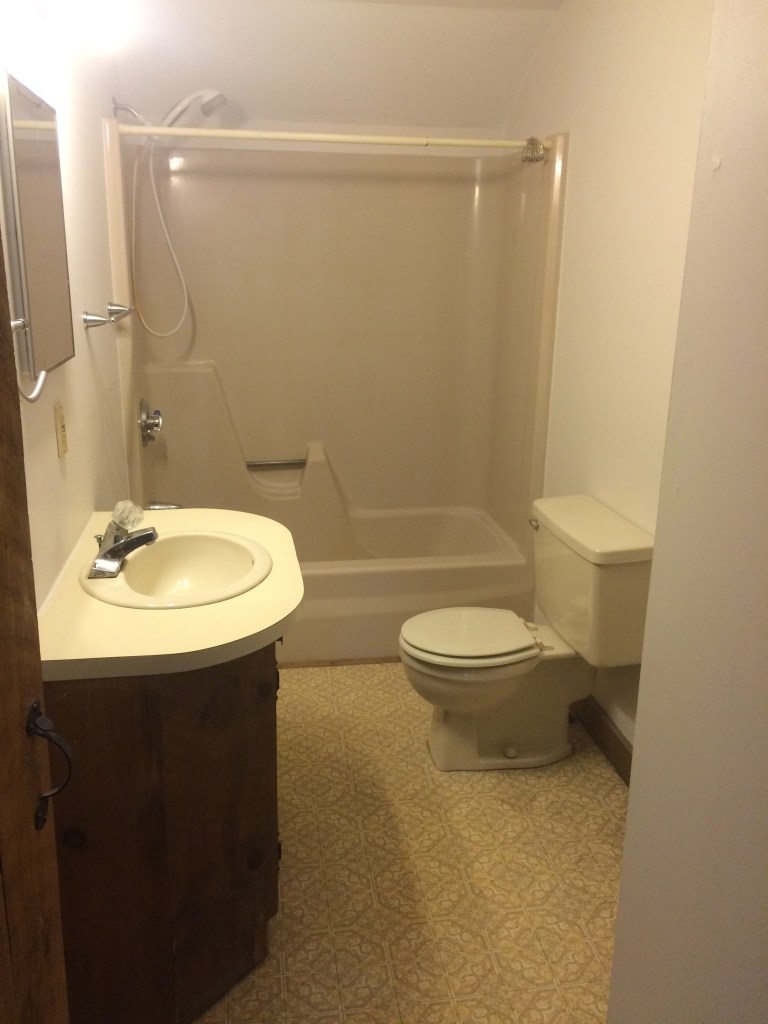
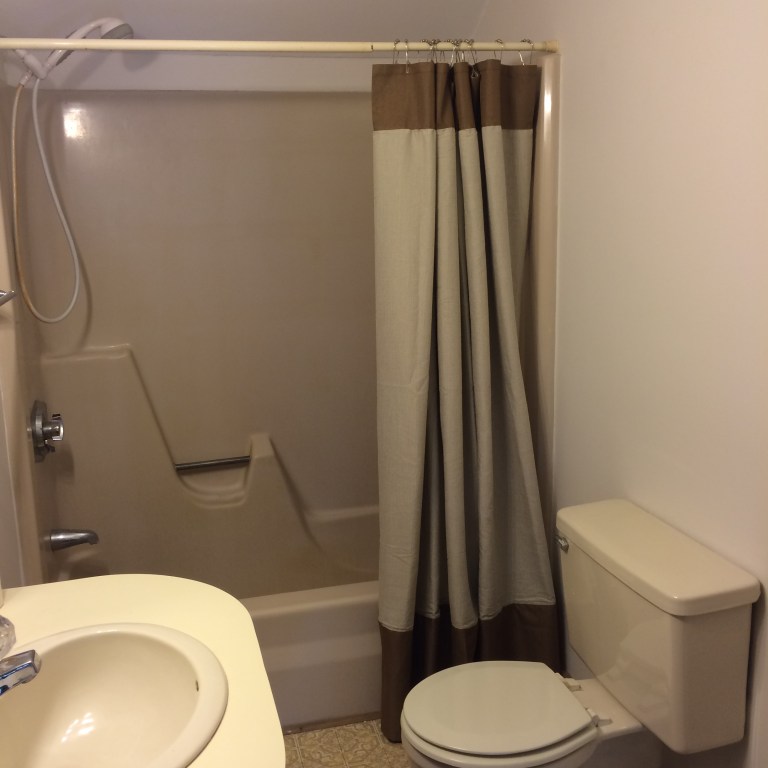
It was definitely time to move on. The new bathroom just didn’t have the dolphin vibe:
I looked at several stores, but the cheapest decent shower curtain I could find was $12.99. I’m too much of a cheapskate, so I decided to make my own. We have several tablecloths that we have used the past three years for our annual “Friendsgiving” potluck. Our old apartment was huge and we were able to accommodate 40 people to a family style sit down dinner. Here was the set up from last year:

Entertaining this many people will not be a possibility in our new place, so I didn’t have any problem sacrificing this tablecloth to become our new shower curtain:

The only problem with my plan was that the tablecloth was too wide and not tall enough to be a shower curtain. I originally wanted this project to cost no money, but I ended up making an exception. I bought this curtain panel from the Salvation Army for $3.99:

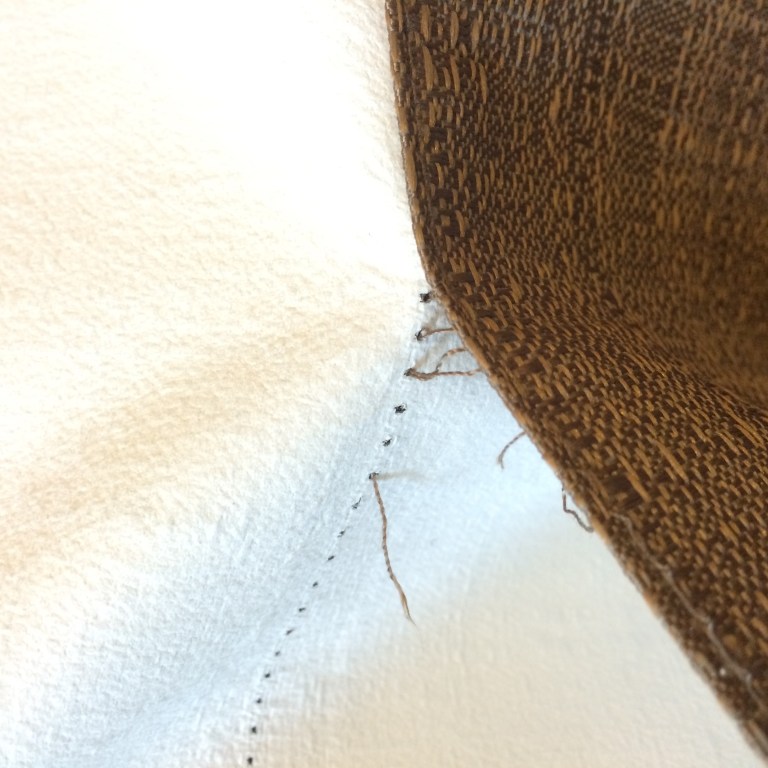
The first step was to tear out the top and bottom seams on the curtain panel:
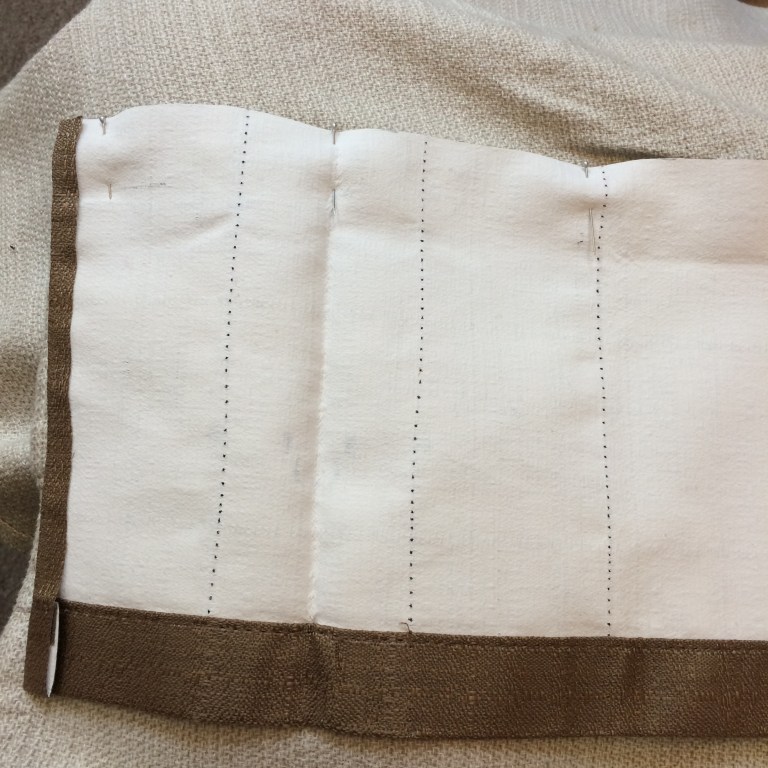
With the seams torn out and the fabric opened up, the panel actually became the exact width I needed for a shower curtain – that was lucky! I cut a 6 or 7 inch strip from the curtain panel to be the top of my shower curtain. Then I pinned it and sewed it to one edge of the tablecloth:
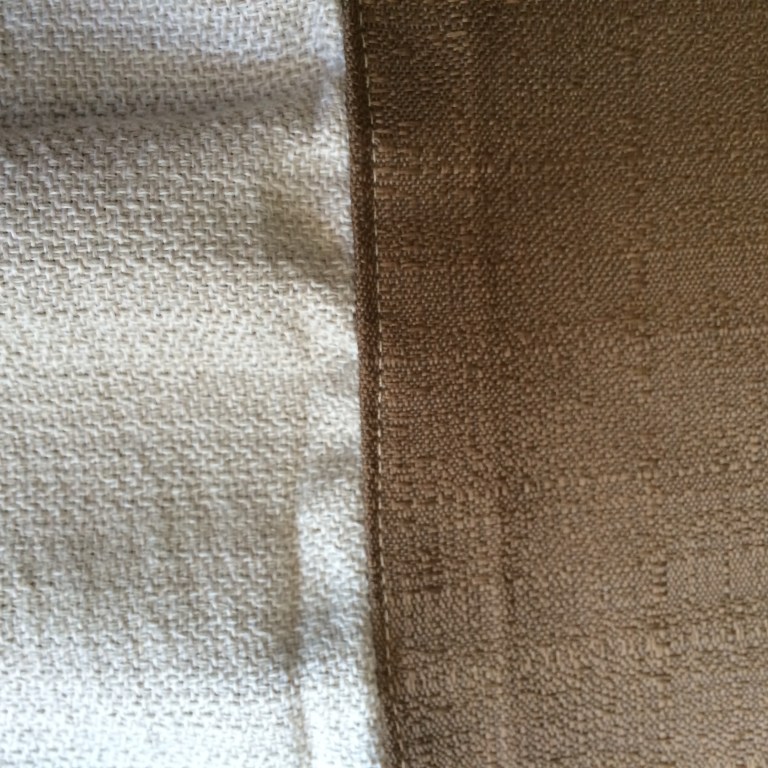
I flipped the piece over and added another seam across the front side of the curtain:

This gave it a more finished look:

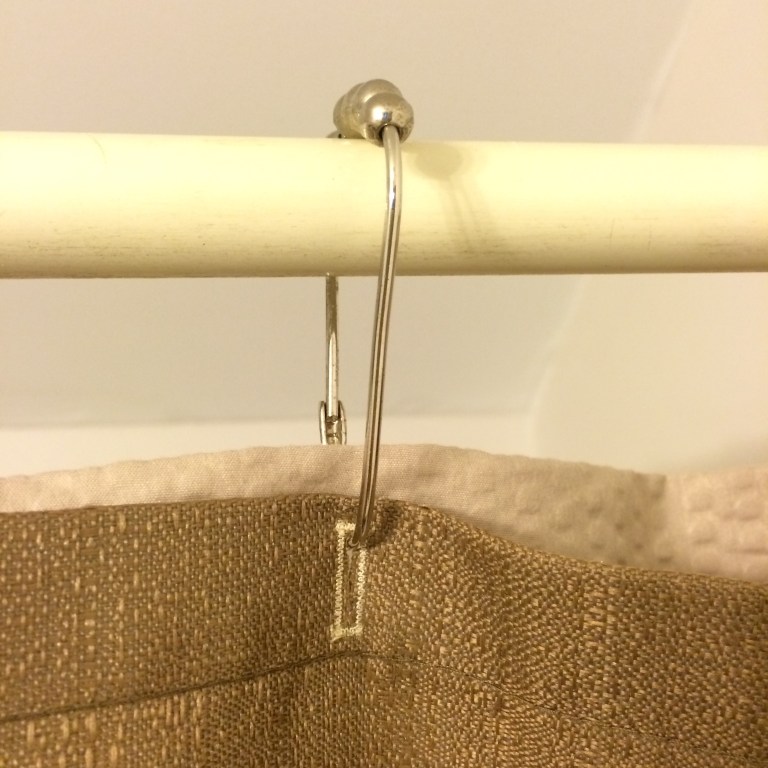
I followed this exact same process for the bottom of the shower curtain, using a 13″ strip cut from the remainder of the curtain panel. The only hem I had to sew on this entire thing was the right side of the tablecloth section. All of the other hems already existed on the tablecloth and the curtain panel, so that saved me a lot of time! The last step was to mark out the hole placement for the curtain rings. I used our liner to get the measurements right, and then went through and made 12 button holes. This was the most tedious part. Next time I think I’ll be lazy and just hammer in grommets instead of sewing button holes.
Here’s the final product!
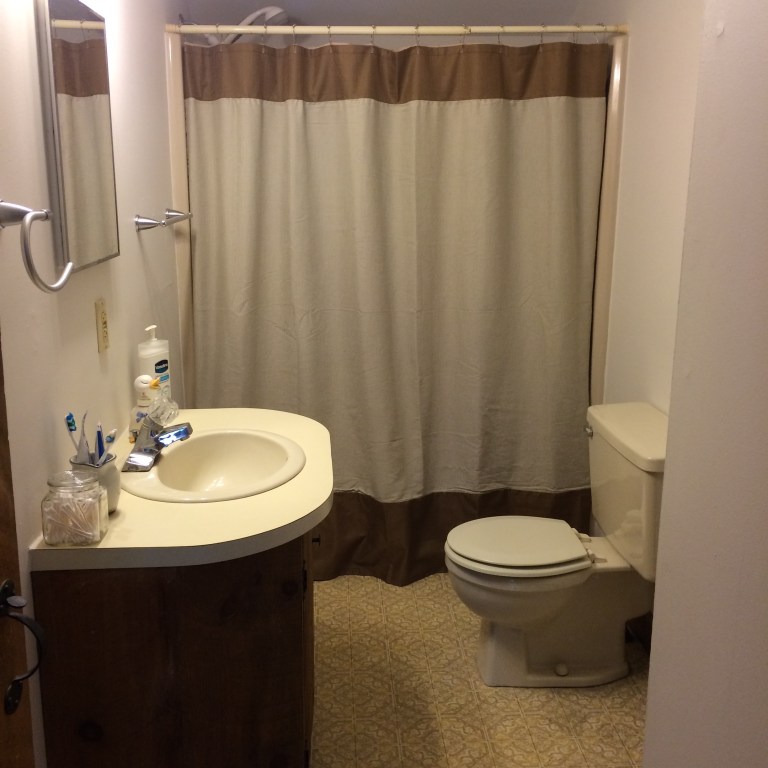
Not bad for a total cost of $3.99.
And definitely more adult than those dolphins.
Time to move on to the next project!

You are so crafty!! Would love to see the new place 🙂
LikeLike
Love the finished look!! Awesome DIY
Tonee
https://infoellablog.wordpress.com
LikeLike
Well done! That turned out really nice. I love DIYs!
LikeLike