
In our apartment we have a cabinet full of used bags, paper and plastic. Even though we try to use reuseable shopping bags, the disposable ones still seem accumulate somehow. We rarely use them for anything, but I hate to throw stuff away.
The other day, I decided to do a project to use some of them up. The least useful of the lot were about a dozen small paper bags, like the kind you get from the liquor store. I wanted to spend exactly $0.00 on this project, so I gathered up supplies that I already had:
- used paper bags
- string
- embroidery needle
- thin cardboard
- bias tape (optional)
- scissors
- ruler
- glue
The first step was to cut out all of the pages. I cut each bag open along the seam, trimmed out the bottom and laid them out on floor. I then took an iron to them to get out all the wrinkles so they would lay flat:
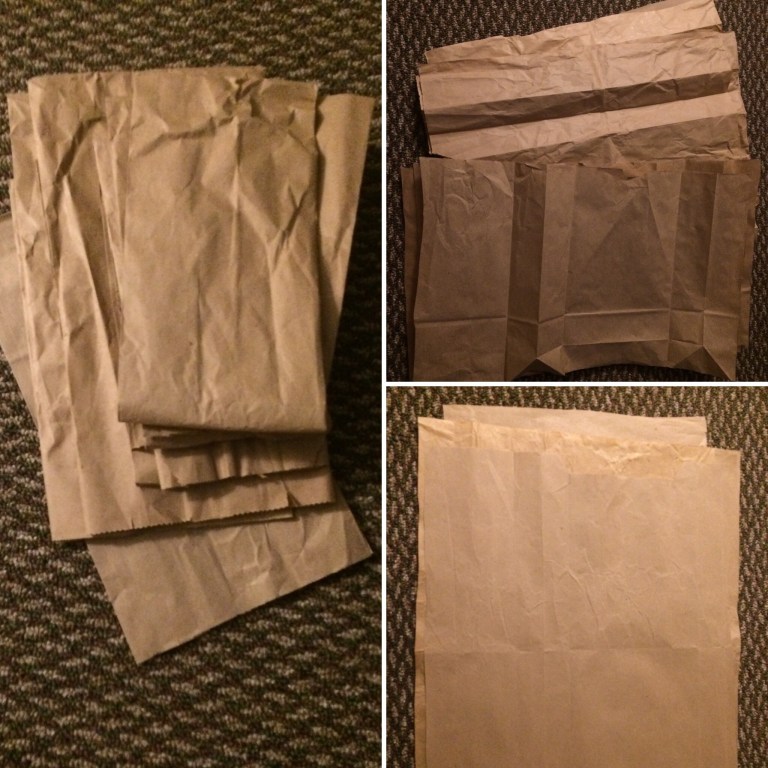
I wanted to maximize the number of pages I could get out of each bag, so I ended up cutting the paper into 10″ x 7″ rectangles. These pieces were folded in half and combined into groups of 4 to make a total of 5 signatures (sections) for my journal.
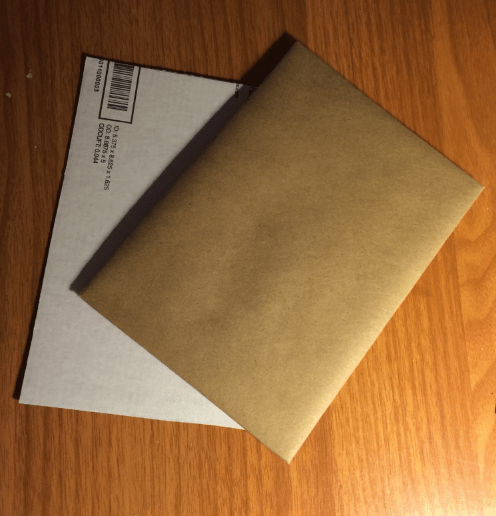
The next step was to cut out cardboard for the front and back cover. I used an old USPS flat rate box I had laying around the house for my cardboard, but any cardboard would work well. I cut my cardboard pieces slightly larger than my pages. To make them look nice, I covered them with more brown paper:
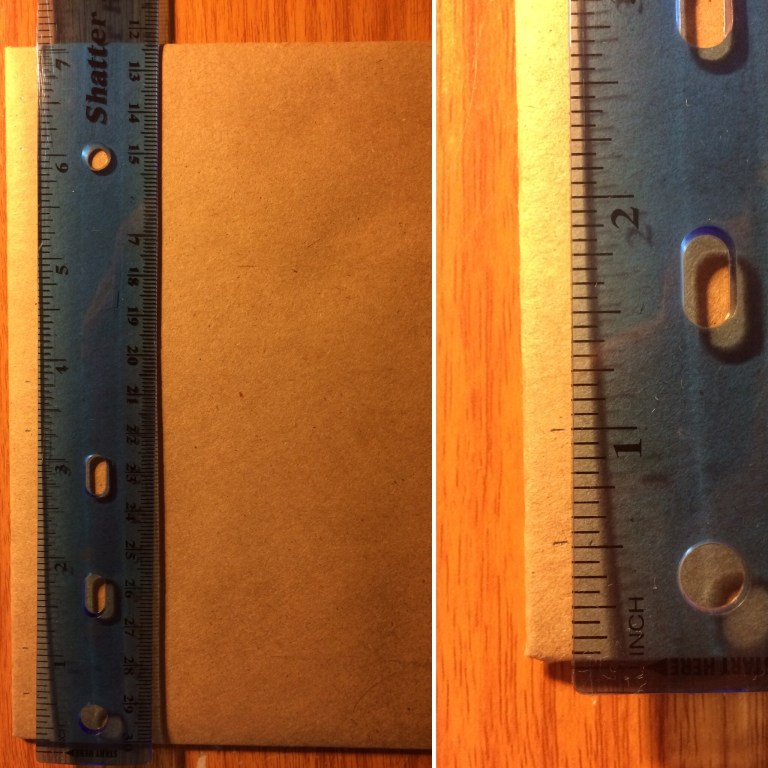
After my signatures and covers were complete, I needed to mark where I wanted my holes for binding. I chose to make three sets of two holes 1/2″ apart. I marked these in pencil first and then punched them through with my embroidery needle:
Using one of my covers as a template, I marked the holes inside each signature with a pencil:

The last thing I did before beginning the binding process was adding a little bit of color to each signature. To do this I used some binding tape that I found in a free bin outside a thrift store one day. Binding tape is usually used in sewing, but I just glued it along the outside fold of each signature:
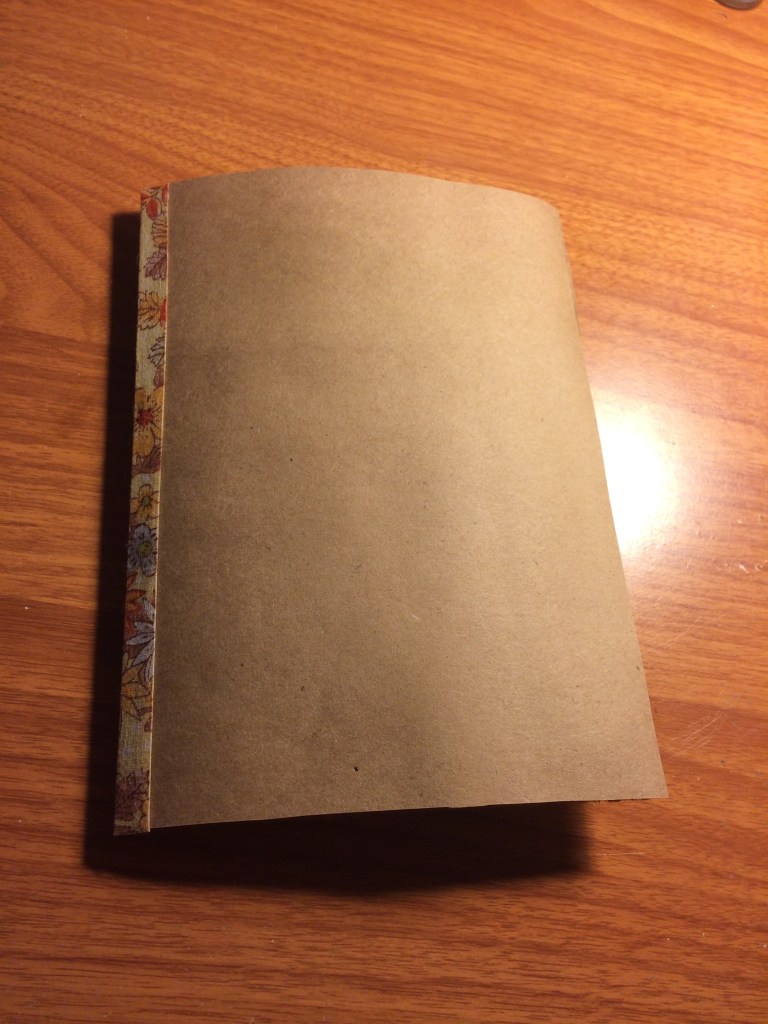
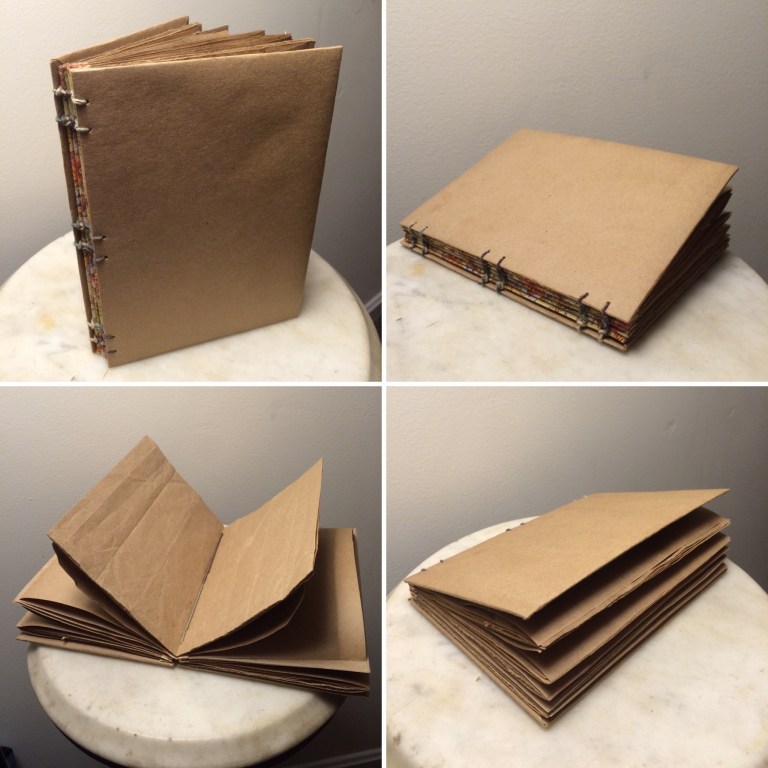
Now the fun part! I used a coptic binding technique. It was a technique I learned in a high school art class a long time ago. I like this type of binding because it allows the journal to easily lay flat, no matter which page you’re open to. Because it had been at least 10 years since the last time I had bound a journal, I needed a refresher. I found a super helpful video tutorial on YouTube: Coptic Stitch Tutorial. After watching the video a few times, I got my signatures, covers, needle and string ready to go:

The binding took me about an hour, but I was pleased with the final product!
I used a very simple pattern to bind this journal. However, now that I’m comfortable with the basics I want to get more adventurous. Check out my Pinterest board Book Binding to see examples of clever things other people have done!
