
About a month ago Doug held up a sweater and complained about it having a hole in the elbow. I’ve seen elbow patches plenty of times, but they’ve always seemed like more of a hipster fashion trend than actual, functional patches. But since I like doing things the cheap way, I decided to jump on the elbow patch bandwagon and mend his shirt rather than ditching it and buying him a new one.
Finally last weekend I had time to patch the sweater. I pulled it out of a pile of clothes and realized it still had a Christmas design loosely sewn to the front of it. The last time Doug wore this sweater was to an ugly sweater party in December. Two years ago I bought an ugly Christmas apron at the thrift store for $0.25, cut the design out of it and tacked it onto one of Doug’s sweaters – cheapest ugly sweater ever. He’s used this for two years now, making the average cost of his ugly sweater 12.5 cents/year:

So first I had to remove the Christmas bunny and put it into storage until the next holiday season. Then it was time to assess the elbow damage:

As a quick fix for the ugly sweater party I did use an iron-on patch to keep the hole from unraveling more. Normally you would darn the hole before hiding it with an elbow patch, but I was lazy and decided to just leave the iron-on patch there to do the work.
The next step was to find material for the elbow patches. I checked a few local thrift stores and settled on this suede leather jacket to cut patches out of:

I will admit, I spent more on this patch material than I would have liked. This jacket cost $5.00. I was aiming to spend no more than $2.00. I checked the jacket sections, women’s blazers, bags, and skirts for a suitable brown suede leather. I splurged on this $5 jacket because I found it at Wonderland, a local thrift store in my town. They do a lot of good work in the community and no money spent there is wasted.
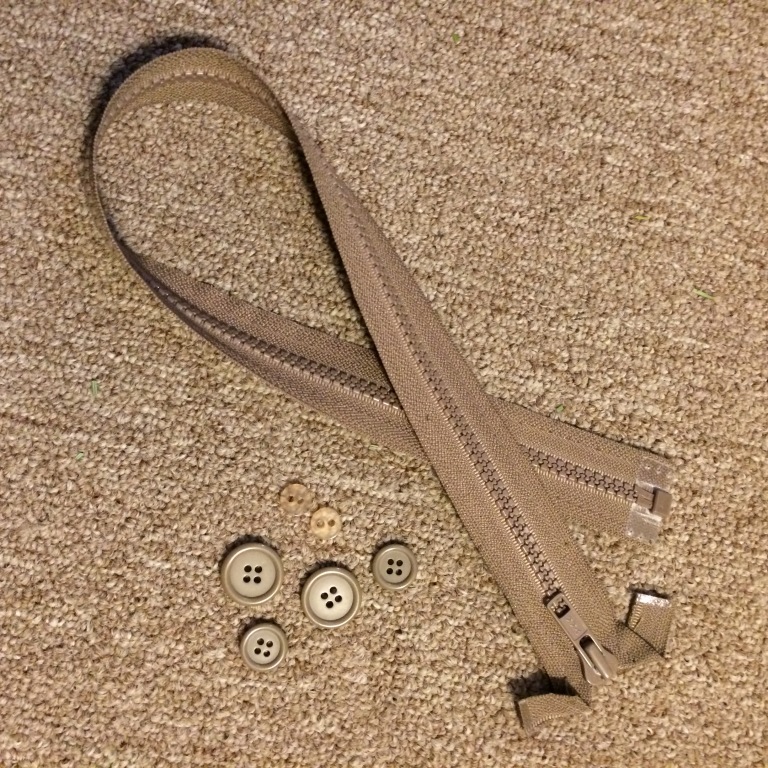
To begin dismantling the jacket, I removed the zipper and took off all the buttons:
Then I cut along all the seams to remove all the leather sections of the jacket:

I discarded the inner lining, knit bands, and the polyester filling. This felt a bit wasteful, but I’m not sure what I would have done with these pieces:

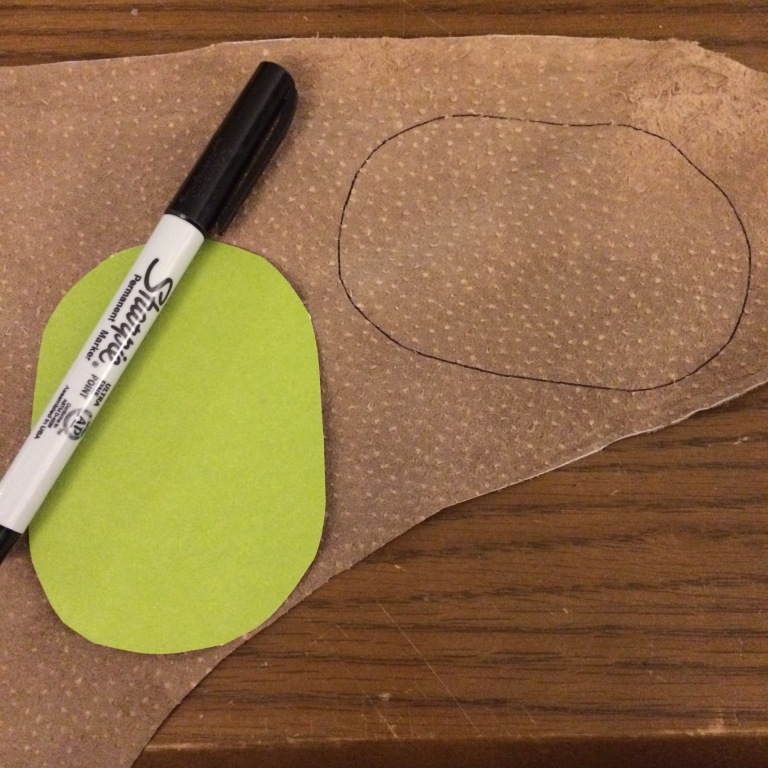
Next it was time to make some elbow pad stencils. I grabbed the nearest circular object (which happened to be a yo-yo) and used it to trace an elongated oval shape on a piece of paper. I cut this out to use as a template:


Then I traced several shapes onto the material with a fine point sharpie:
It turned out I was able to cut a lot of patches out of just one panel of leather:
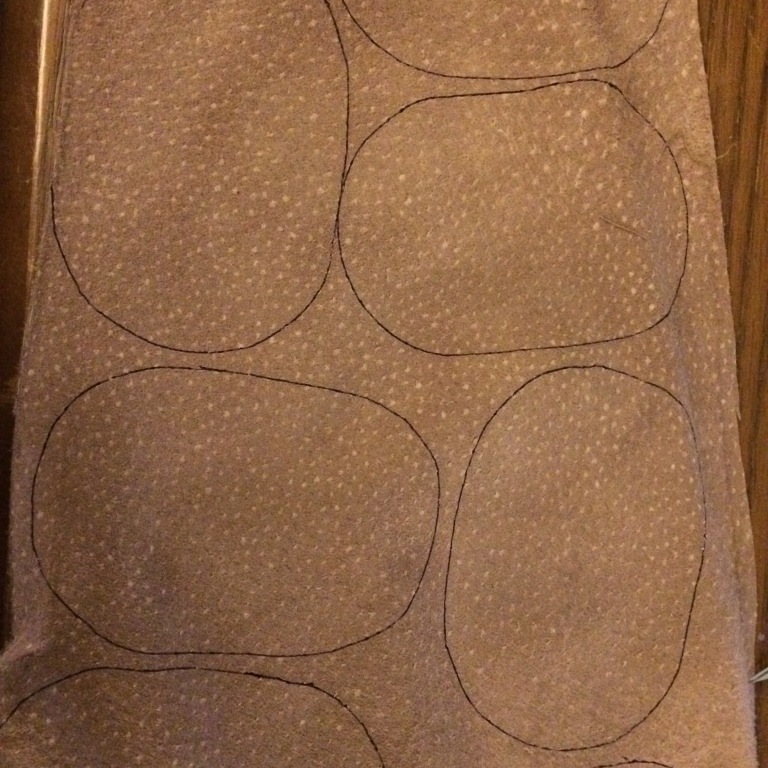
I cut out a whole bunch of these, and then created a larger stencil and also cut out several patches of that size. Obviously I only needed two patches for this one project, but Doug has at least one other shirt with worn elbows and it doesn’t hurt to have a few set aside for the future. I also have several larger pieces of the leather material left for future projects – maybe a wallet, bag, small pillow, etc. It won’t go to waste!
Before sewing the patches to the sweater, I had to mark where Doug’s elbows land on the sleeves. I had him put on the sweater and I marked the elbows with safety pins:

Then I folded the patch in half and lined up the center of it with the safety pin:

Unfolded the patch:

Pinned it in place:

And finally, I stitched it in place. I don’t usually like hand sewing, but there’s really no practical way to do this with a machine. It was definitely a tedious process to sew both patches, but eventually they were done:


I definitely need to work on my sewing technique, but I don’t think it came out too bad for a first try!


Like what you’re doing & describing . I thrift lot-anything special I should look for. Love Aunt Dawn
LikeLike
Love this! 😊❤️
LikeLike
Rather you than me. You are obviously blessed with patience and creativity. ♡
LikeLike